Part 1: Creating Night
This is what we had from Part 1

Ok let's start creating the night scene.
1. Creating the Building
A. Create a new layer on the top.
B. Using a Pen Tool, Draw out the building shape. You can draw out the building in three different layers and den merge them together or you can just draw them all one one layer. But the former method would be more recommended as you can then adjust the buildings around.


C. Create a new layer above the Building Layers. Name it "Lights". Use a Pen tool to draw out a small rectangle.

D. Change the Blending Option of "Lights".


#fffbe to #ffffff

E. With the "Lights" layer selected, press Ctrl-J to duplicate the layers. Continue to duplicate the fill up the entire buildings. To have more variations with the shape of the lights, just use Pen tool to draw it. This is what i got :

F. Group the all the "buildings" layer and "lights" layer together and name it "B & L". With the ''B & L" layer selected, Ctrl-Click the "Land" Layer. Go to Layer>Layer Mask>Reveal All.

2. Let Darkness Reign
A. Create a new layer "Darkness" below "B & L".
B. Fill up the layer with #000000.
C. Press "D" to reset the color palette to "Black" as foreground color and "White" as background color.
D. Click on the Gradient Tool and click from the right and drag to the left of the picture. Reduce the opacity to "63%".


3. Add in Rays and Star Lights
A. Create a new layer behind "B & L" but above "Darkness" layer. Name it "Shine".
B. Using the Custom Shaped Tool, create the shape behind the building.

C. Go to Layer>Layer Mask>Reveal All.
D. Choose "White" as your foreground color and select the Gradient Tool.
E. Choose "White to Transparent" and Radial Gradient.
F. Click from the center of the shape and drag out.


G. Change the Blending Option.

H. Create a new layer call "Mountain Reflect"
I. Ctrl- Click on the "Land" layer to bring up the selection.
J. Using the Elliptical Marquee Tool and choose "Intersect with Selection. Feather: 5px. Select a part of the active selection.

K. Fill up with #000000.

L. Ctrl-D to deselect. Give the layer a "Layer Mask" . Use the Gradient Tool( Linear Gradient and B/W color) and drag from the bottom to the top. The angle of the dragging gotta depend on your slope of the mountain to your building.

M. This is how your Layer Panel should look like in case you are lost.

N. Create a New layer call "Sky".
Using the "planet" brush and Galaxy Brush, give the sky some nice touch. You can search for different type of beautiful brush using the Search Function on the top right of the page. Or you can just download mine here. Download Link

4. Rainbows~!
A. Create a new layer above "Background" and name it "Rainbow".
B. Use the Elliptical Marquee Tool and Style:Fixed Size. Width: 700px, Height: 700px.


C. Fill up with a Red Color.
D. Reduce the Width and Height by 40px and adjust the selection.


E. Fill up with Yellow Color.

F. Repeat Step D to E but with different colors.
G. After you are done with the colors, reduce the marquee size for the last time and click delete.


H. Change the Blending Option.


I. Transform it to make it abit smaller or up to your preference.

J. Now we will give the rainbow a shine. Create a new layer above the "Rainbow" layer.Ctrl-Click on the "Rainbow" layer to bring up the selection. Fill it up with #ffffff.

K. Using the pen tool, select out the part that u want to clear away.

L. Right-click and Select "Make Selection".


M. Press Delete.

N. Change the Fill Opacity to "0%".
O. Change the Blending Option.

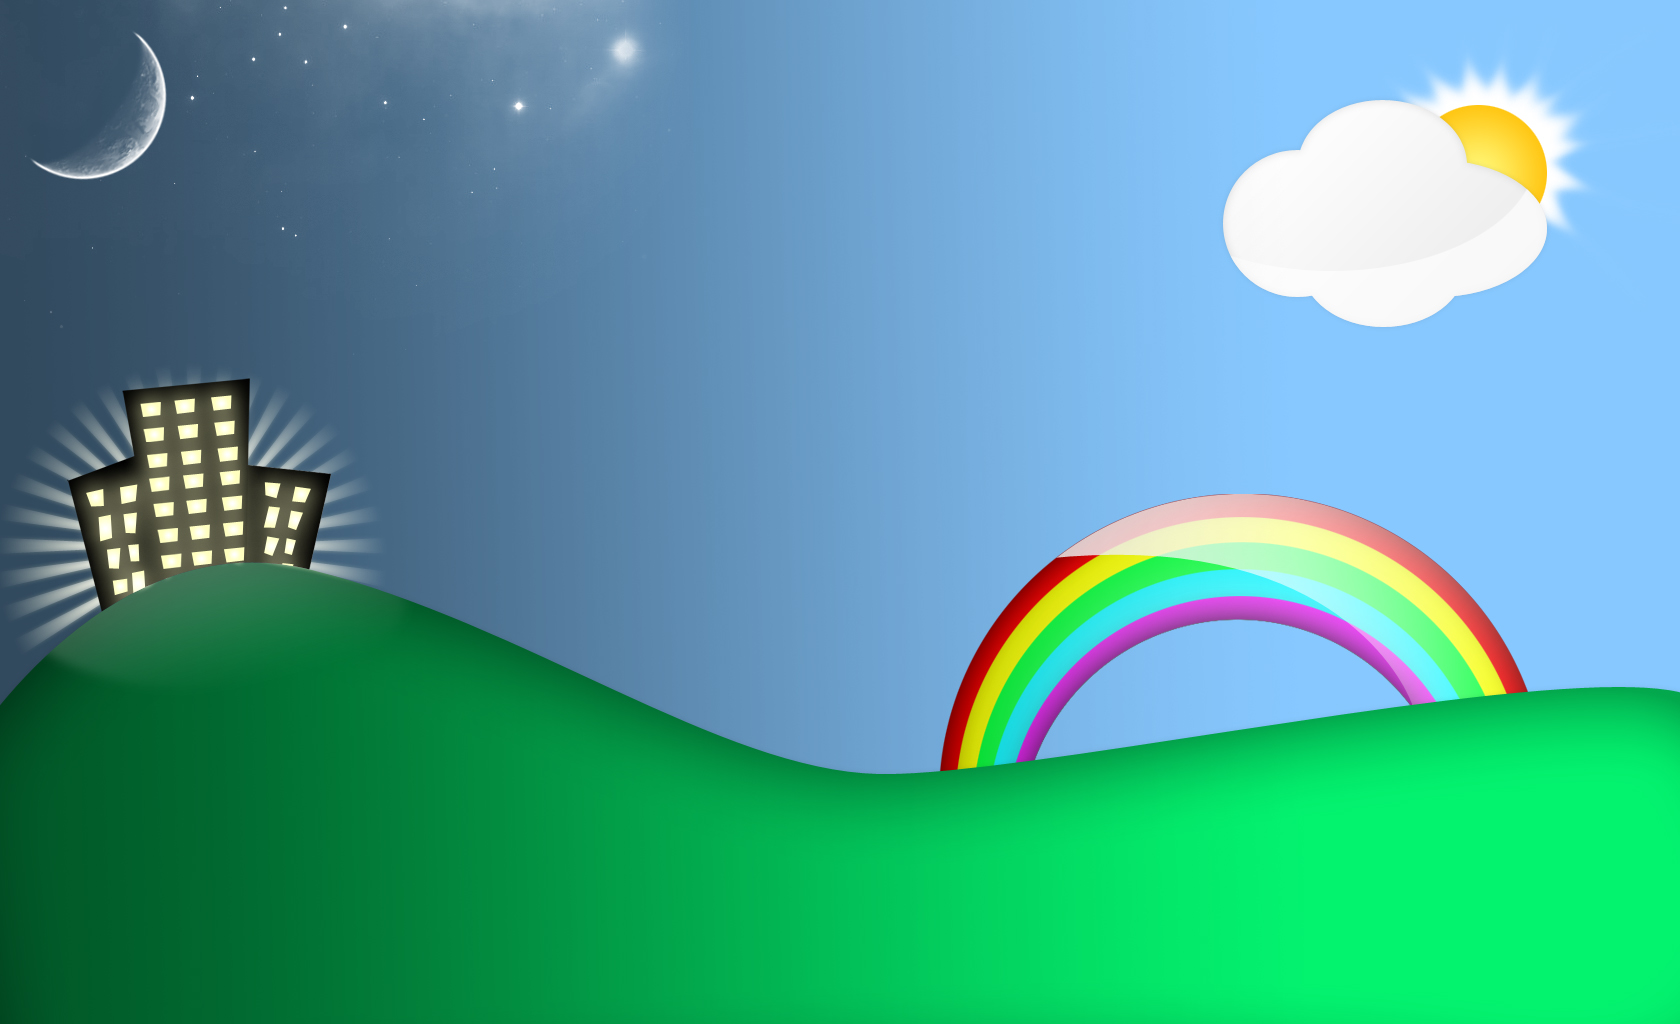
Ok finally we are done!!
Final Version:
Day and Night Cartoon Scene by ~p0larBoy on deviantART
For the full view : Click here

No comments:
Post a Comment