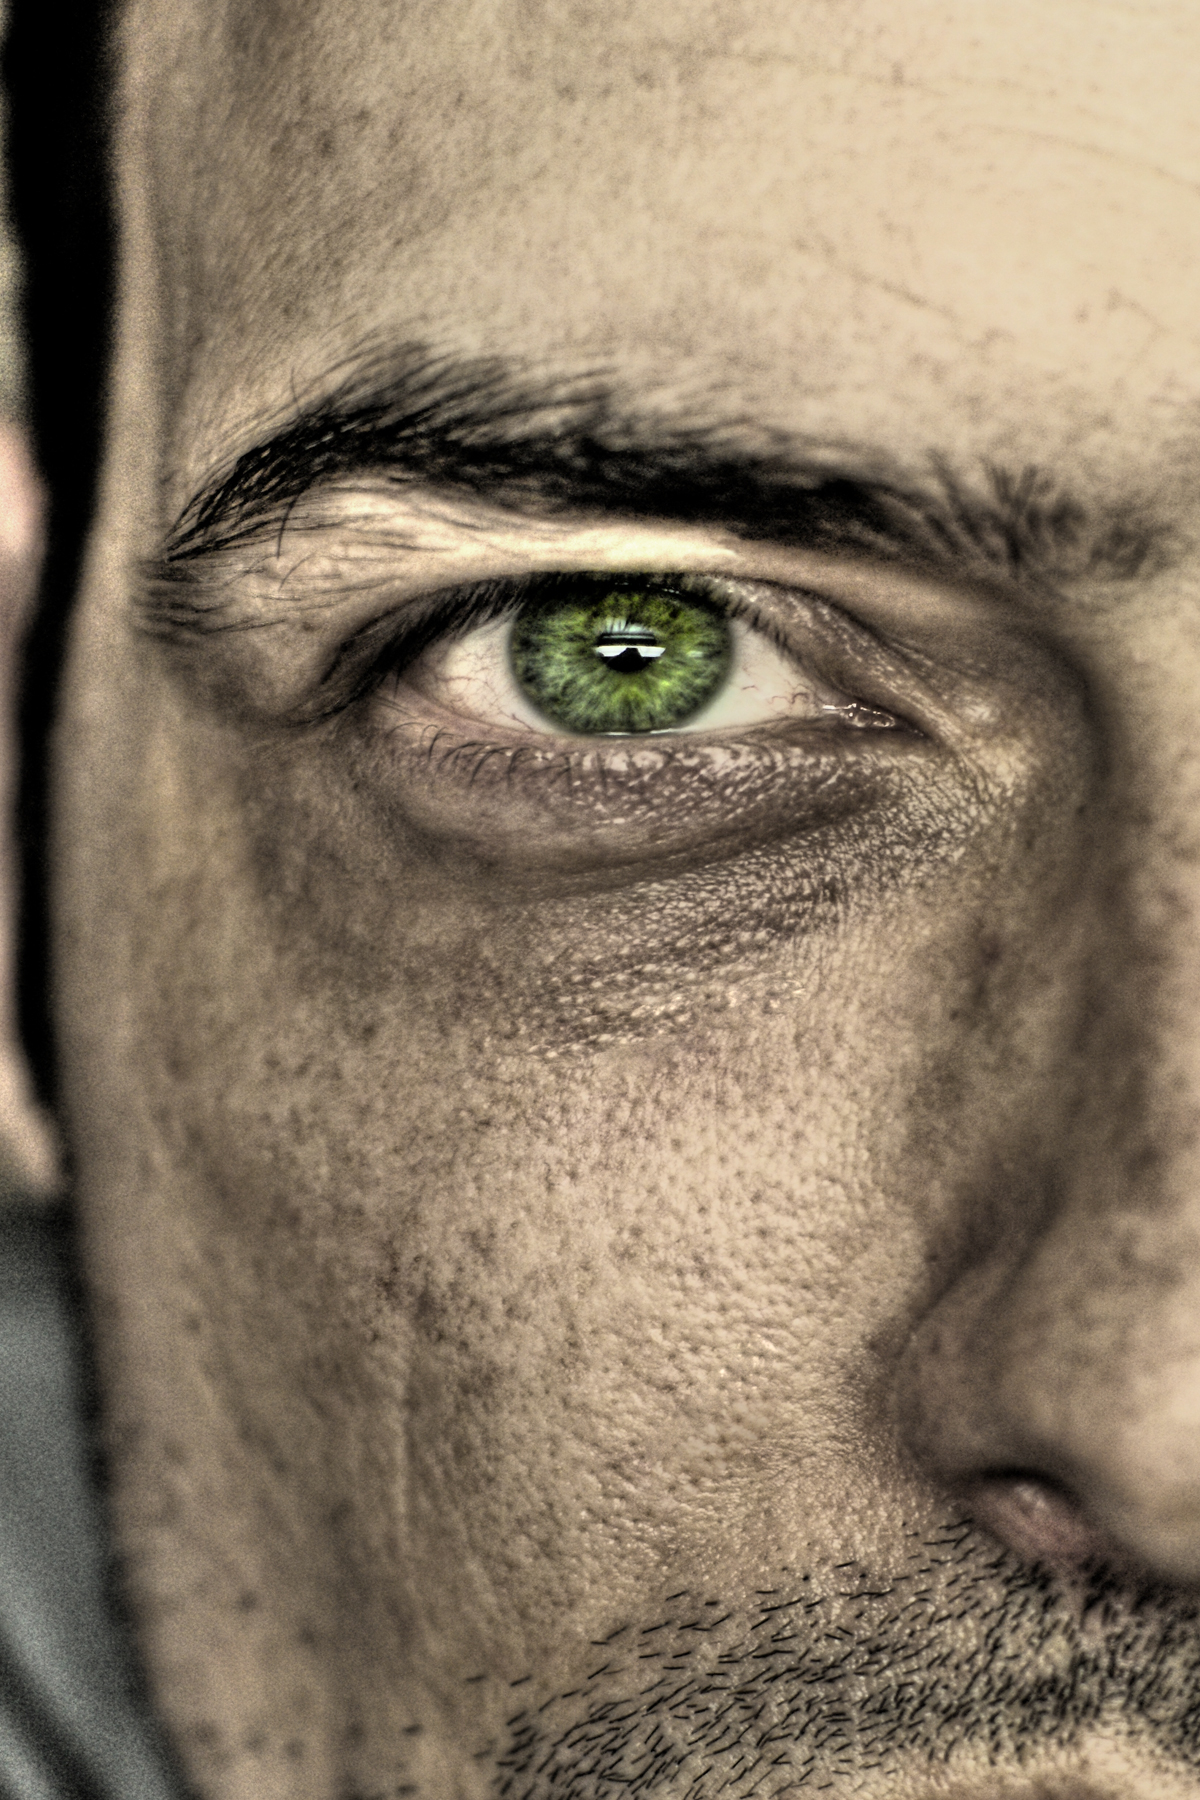
1. Get a self potrait or a picture of an aging face. I got this amazing picture from juggertha.
2. Let's Duplicate this layer by Clicking "Ctrl-J".
3. Clicking the patch tool and making sure the selections are correct, circle out the eyebag.


4. Click the inside of the selection you just made and drag to an area of the normal skin tone.

5. You will see that the area you replace is now blurry and it's obvious to anyone that you have just photoshopped your own face. So if you don't want to get heckled by your friends, it's time to fish out the "Healing Tool".


6. Holding on to "Alt", Click on an area you want to "clone" from. Be aware that this is not the same as Cloning tool but the technique of choosing source is the same. You want to choose from a skin tone u want the new skin tone to look like. Heal around the edge of the edge.


7. Do the healing gradually, starting from the edge of the blur.Keep re-choosing your source as you progress. If you find that the "Healing" isn't giving you nice result like the picture below where i got a blur after healing, choose your source again(step 6) and then "heal" it.


8. Next is the Clone Stamp Tool. Choose a large soft round brush and set the blending option to "Lighten".

9. Choose your source around the nice skin tone u want. Now "clone" the area you have just healed.

10. I used the Step 6 to Step 8 for the wrinkle near the corner of the eyes.


11. For the forehead, use the Clone Stamp Technique


12. For the Acne scar on the cheek, repeat the whole Step 6 to Step 8.


Here you go, you should at least look 5 yrs again(this is only part 1)
Before:
After:

*Updates*
 This tutorial is updated at "More Realistic* How to Look Younger by 10 years"
No comments:
Post a Comment