Thursday, September 25, 2008

Pen Tool Tutorial~


Pen Tool was really a nightmare to me when i started playing around Photoshop. I always thought I could suffice without using Pen tool at all. Lasso Tool was my poor man's version of Pen Tool.

But later in my life, the need to use Pen Tool was way too tempting. I wanted to be able to cut out intricate objects beautifully and not turned out to be a utter mess. As painful as it took me, i finally can proudly say that i can use the Pen tool efficiently. Looking back now, how i wished there was someone or some tutorials books that would have saved me time, headaches and my poor indexed finger.

Enough of my crapping, now is your turn to grow some balls and start utilizing an extra 0.01% of Photoshop Tools.


Important Points to take note(in case you are too lazy to watch the video):

1. Never attempt to trace a path with an angle more than 90 degree.

2. Use the "Alt" button to shorten the two handlebars to one before proceeding to the next click.

3. To have a smoother path(no bumps in between two points), try to have as little points as possible per shape. (You can use just 4 points to draw a circle or 8 points to draw a circle, 4 points would give u a smoother path)

4. Lastly, the Mother of all Cliche: Practice, Practice and more Practice!!!

Tuesday, September 23, 2008

Color Personality Test~~


Who doesn't love attempting a Personality Test? Doing a Personality Test is like having a self reflection. You might realize things about yourself that no one had dare or want to tell you. However, there is no Personality Test that is 100% accurate, so take everything with a pinch of salt.


My sis intro me a new Personality Test by ranking colors that seems most comfortable to you to the least. If you dabble in Photoshop every now and then, you are bound to be troubled by the selection of colors for your design. So this test should be a ease to do for you. Have Fun~

Link: Colorgenics

Tuesday, September 16, 2008

How to look 10 years younger? - Part 2

After Part 1, we are going to do today is to add in some natural airbrush to make the skin more vibrant and yet natural-looking. More often than not, most air brushing technique will give a unrealistic feeling as the skin are way too smooth and totally covering the pores on the face. If you take very high resolution photos, skin pores can often be seen and you would want to preserve some of those pores for a more natural look.

Get rid of the black spots on the face


1. Using the healing tool, we get rid of the black spots on the face. If you forget the technique of healing, you can revisit Part 1 here.


2. After healing, we will duplicate the layer twice. Name the lower duplicated layer "Blur" and the Top duplicated layer "Pores".

3. With the "Blur" layer selected, go to Filter > Blur > Surface Blur. Adjust the Radius and Threshold together until the images are blurred but still visible. Then slowly lower the Threshold until you can see the edges of the face. Next lower the Radius until the skin are smooth. This two adjustment are totally up to your judgement.


4. Next select the "Pores" layer and go to Layer > Layer Mask > Reveal All. With the mask selected(beside the "Pores" main image), go to Image > Apply Image. Make sure the source is from the "background".


5. Next select the "Pores" main image, go to Filter > Other > High Pass. Adjust the radius until the pores become visible and until the whole skin look natural.


6. Create a new layer and Fill it up with red. Adjust the opacity for that layer to 50%.

7. Group all three layer together. With the Group selected, Go to Layer > Layer Mask > Hide All.


8. With the Mask selected( Click on the mask box in the Group layer), using a large round soft brush with the foreground color "white", brush the skin area.


9. Make the red layer invisible. Duplicate the Group. Right Click the new Group and select convert to Smart Object. Right Click again and Rasterize the Layer.


10. Change the layer blending to "Soft Light".

11. With this layer selected, use the heal tool to heal the area below the eyes to make it more natural. This is again up to your discretion because i just want the skin below the eye to have more texture.


Our Progression


*Updates*

Sunday, September 14, 2008

Fonts can be beautiful too....

....even when they are repetitive. I saw this excellent tutorial from Spoon Graphic which i absolutely gotta try out for myself. Typography design was always what i wanted to do but it's really hard to make something looks nice just by using fonts. But when it is done correctly, the result would be eye-catching yet not flashy.

Here's my take:

Tuesday, September 9, 2008

How to look 10 years younger? - Part 1

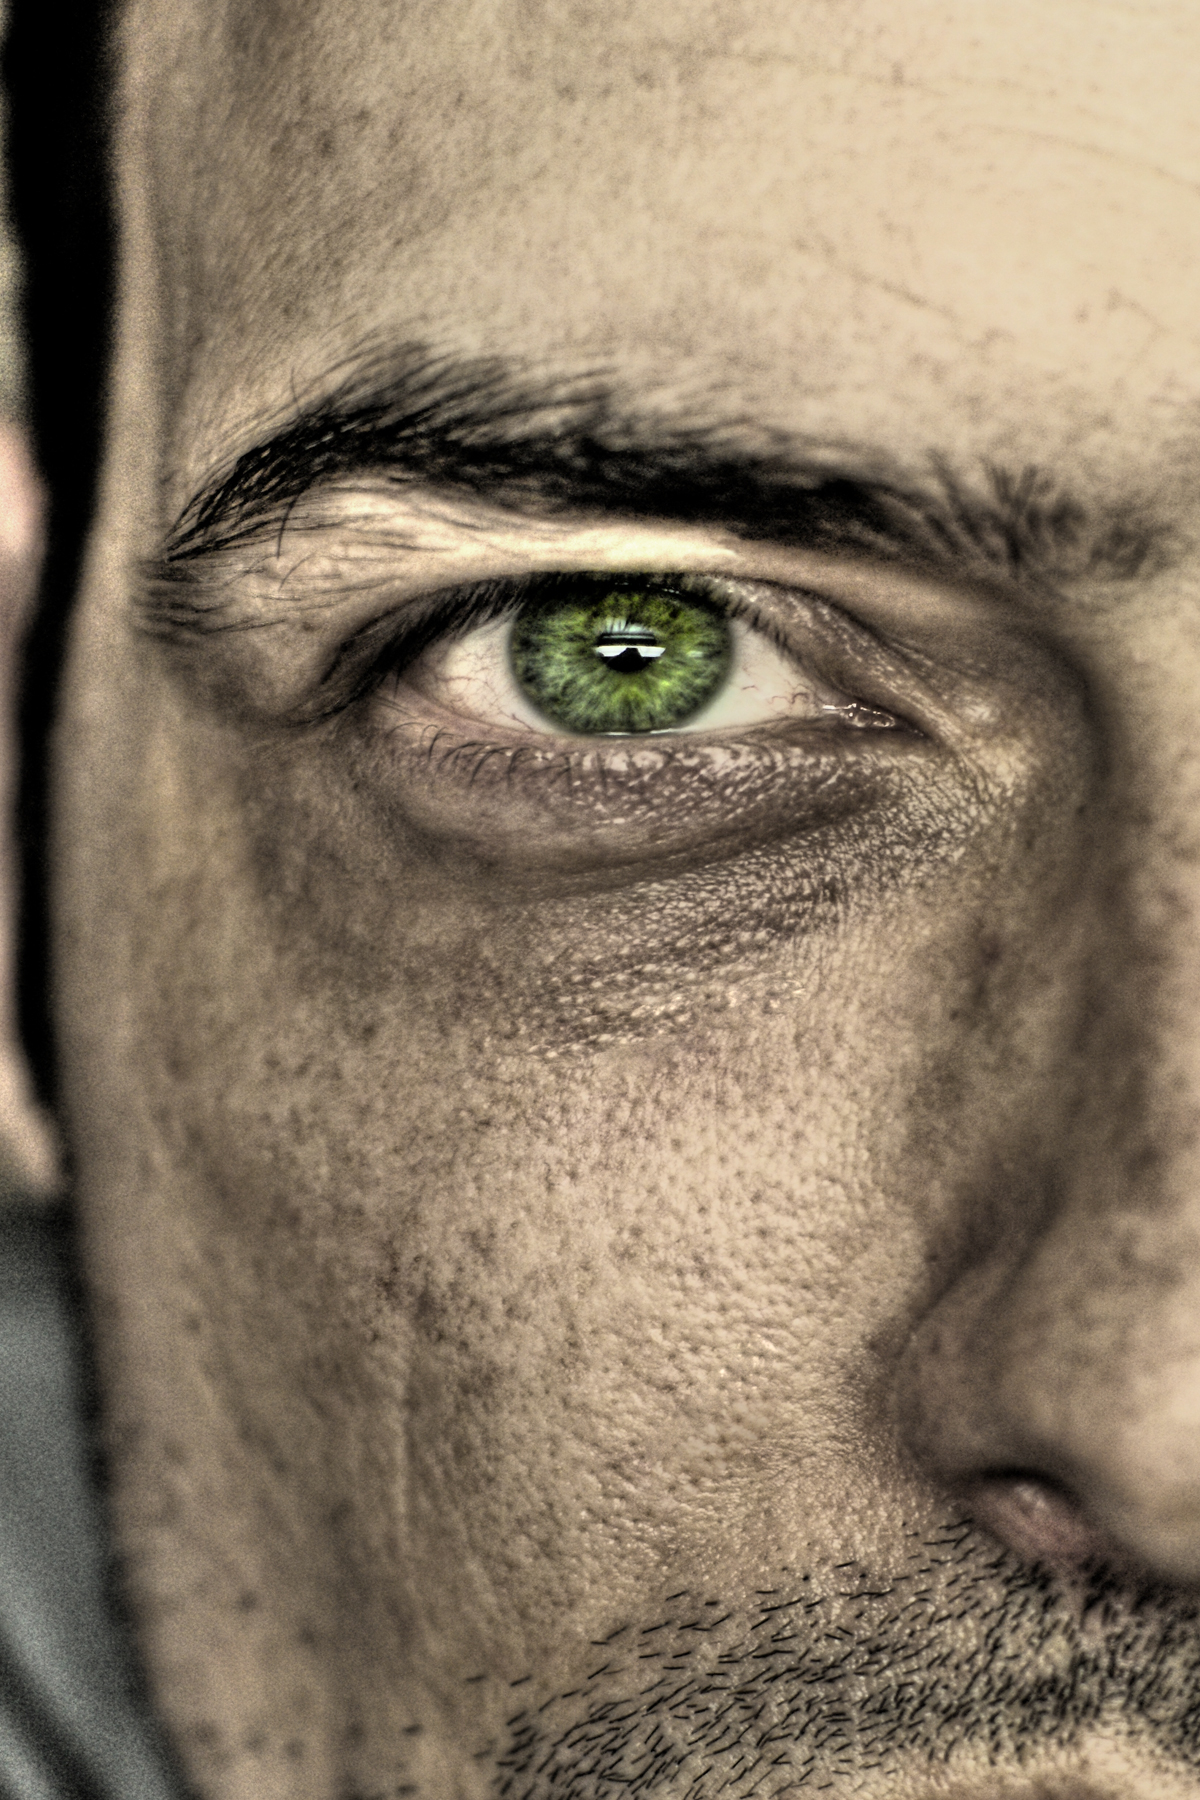
How to make yourself look 10 years younger? With Photoshop you can. Things like eye bags and wrinkle are what that ages your face. For Part 1, we are gonna use Patch Tool, Healing Touch and Cloning Stamp Tool to remove those above mentioned in just 10 mins or less.

1. Get a self potrait or a picture of an aging face. I got this amazing picture from juggertha.


2. Let's Duplicate this layer by Clicking "Ctrl-J".

3. Clicking the patch tool and making sure the selections are correct, circle out the eyebag.


4. Click the inside of the selection you just made and drag to an area of the normal skin tone.


5. You will see that the area you replace is now blurry and it's obvious to anyone that you have just photoshopped your own face. So if you don't want to get heckled by your friends, it's time to fish out the "Healing Tool".


6. Holding on to "Alt", Click on an area you want to "clone" from. Be aware that this is not the same as Cloning tool but the technique of choosing source is the same. You want to choose from a skin tone u want the new skin tone to look like. Heal around the edge of the edge.


7. Do the healing gradually, starting from the edge of the blur.Keep re-choosing your source as you progress. If you find that the "Healing" isn't giving you nice result like the picture below where i got a blur after healing, choose your source again(step 6) and then "heal" it.


8. Next is the Clone Stamp Tool. Choose a large soft round brush and set the blending option to "Lighten".


9. Choose your source around the nice skin tone u want. Now "clone" the area you have just healed.


10. I used the Step 6 to Step 8 for the wrinkle near the corner of the eyes.


11. For the forehead, use the Clone Stamp Technique


12. For the Acne scar on the cheek, repeat the whole Step 6 to Step 8.


Here you go, you should at least look 5 yrs again(this is only part 1)


Before:


After:

*Updates*

Friday, September 5, 2008

Creative Design Game: FONTPARK 2.0

If you have too much creative juice to spare and always have an eye for font pattern, then this game is the right game for you. By using different fonts( i think they are call Morisawa Fonts) , you are to play around with them and form a picture. Honestly, this game made me kinda depress for around 5 mins as i struggled to see any co-relation between fonts and picture.


But obviously it just my Left Brain problem. There are still many out there who managed to made some amazing picture like this picture below:


How the hell did they visualize that?


Play the Game Right now: http://fontpark.morisawa.co.jp

Wednesday, September 3, 2008

Give your images rusty and burnt edges~!


Adding a burnt edges to your image makes it look cliche. So let's bring it up another notch and give it a rusty edge too.


Let's start with the rusty first


1. Open up 500px X 500px document with a White background.

2. Create a new layer and use the Marquee Tool to draw a Rectangular Selection. Fill it up with #67a031.Name the layer "Green".


3. Using a Pen Tool,make sure "Path" is selected, start drawing edges along the side of the green Rectangle.


4. Right Click and select "Make Selection". Leave the settings at default

5. Ctrl-Shift-I to inverse your selection and press Delete to clear your selection.


6. With this "Green" layer selected, press Ctrl-J to duplicate the layer and fill this duplicated up with #7b3700. We can name this layer" Brown". Shift this layer below "Green".


7. Duplicate the "Green" Layer and Fill it up with #ea1e00. Name it "Red". Shift it below "Brown" layer.


8. Duplicate the "Green" Layer again and Fill it up with #f3ef00. Name it "Yellow". Shift it below "Red" layer.


9. This is how your layer panel should like now.


10. With your "Red" layer selected, Ctrl-click on "Red" layer to bring up the selection. Go to Select > Modify > Contract > 1px.

11. Ctrl-Shift-I to inverse selection and press Delete.

12. Now select your "Brown" layer, Ctrl-Click on "Brown" layer. Go to Select > Modify > Contract > 2px. Repeat Step 11.

13. Select your "Green" Layer, Ctrl-Click on "Green" layer. Go to Select > Modify > Contract > 3px. Repeat Step 11.

14. Using your Smudge Tool, Go to each layer except green to draw a few smudges. Use a Soft Round Brush and make the Strength:30%. This is what i did.


15. You should end up with something like this.


Now let's do the cliche burnt edges


1. Create a new layer. Call it "burnt". Let it be the top most layer.

2. With the "burnt" selected, Ctrl-Click on Green. Using a dark brown or black brush, draw along the side of the selection. I find that by drawing thinner black lines rather than thick line would make it more realistic. So don't overdo it. Use a small round brush, with the hardness 100%.


3. Duplicate the "burnt" layer and name it "burnt 1". Shift it above "burnt". With the "burnt 1" selected,go to Filter > Blur > Gaussian Blur > 1px. Change Blending Option to "Overlay.

4. Repeat Step 3 two more times but increase the Gaussian Blur by 1px each time.

5. This is what you should get.


6. Import a picture you like. For me i used this. This picture should be above the all layers except the "burnt" layer.
7. Resize and move the picture til the position you like it.
8. Make sure the Picture layer is selected and Ctrl- Click the "Green" layer. Go to Layer > Layer Mask > Reveal All. This will mask out the picture outside the selection.


9. Change the Blending Option of the picture to "Vivid Light".

10. There you have it! Burnt + Rusty + Your Picture = Fantastico~!~!


Time to put on your Creative Hat


Spam a few brushes and grunge text to liven up the image.

Stained by ~p0larBoy on deviantART